I used "Warm & Natural" batting. [I would use an extremely light weight batting with cotton fabrics on each side for a summer quilt.]
Choose 15 fabrics - 7 for each side; 1 for the binding
For this design, use the same pattern for the center rectangles as the very last top and bottom strips
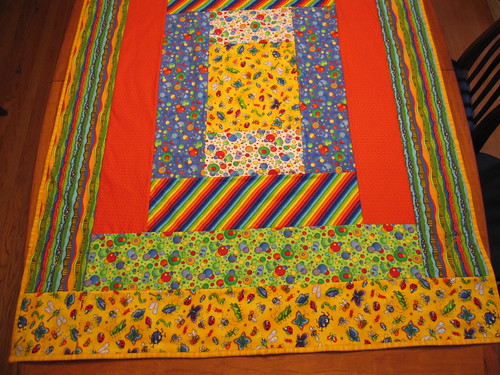
The finished quilt is 54-1/4-in. long and 40-in. wide. The width is great, but it would be nice if it were 60" long, (the center rectangle would have to be longer). It is more than adequate as is and larger than most baby quilts.
The amount required for the remainder is determined by the place you wish to use each fabric.
Remember to purchase enough extra of each piece to allow for shrinkage and straightening each piece! For example, if you need 2 strips, 6-in. wide (12-in.), be sure to purchase at least 16 inches before washing and cutting. I had to go back and purchase more because some fabrics were not straight when washed, dried, and pressed. Before this experience, I would have said 14 inches would be sufficient, but that was not the case.
Additional purchasing note: My fabrics varied significantly in width (from barely 40-in. wide to 44-in. wide after selvages were removed. The two areas this really matters are the outside edge pieces all the way around. (In order to run the "waves" in the direction I desired, I had purchased enough of that flannel fabric to cut lengthwise.) I ended up having to piece the strips across the bottom and top on the flannel side because the fabric was about 3-4 inches too narrow.
For EACH side, you will need the following:
For the center and the top and bottom strips, 1 yard (1 rectangle, 2 ea 6-in. wide strips)
For the next 3 strips, enough for 1 strip (6-in. wide)
For the next 2 strips, enough for 2 strips (6-in. wide)
For the long strip down each side, you will need 2 strips, 6-in. wide; you may need to piece these if the fabric is not fully 45-in. wide, or purchase enough to turn it lengthwise as I did on the flannel side
A package of baby quilt batting is not quite sufficient for this size quilt because of having so many seam allowances. (It requires 1 more 6" strip of 90" wide) It's probably cheaper to purchase the 90-in. wide batting to begin with.
Wash, dry, and press all fabrics prior to cutting. (Check your batting--the better ones do not need to be washed and dried.
You will need a rotary cutter, quilting ruler (24"), and cutting board designed for using rotary cutter, plus 4 spools of coordinating serger thread.
For the batting, and EACH side of the quilt:
Cut center rectangle for each side = 12-1/2-in. x 14-1/2-in., plus 2 ea 6-in. strips
Cut the remainder of your fabrics in 6-in. strips (sufficient for pattern placement as desired)
If you cut them down to size prior to serging, be SURE to leave each strip about 1-in. longer than the length you believe required for that portion. Do the same for the batting. Otherwise you are apt to come up a tad short.
This is a "quick" quilting method--requiring only one step. No sewing-in-the-ditch, tie tacking, or other quilting is required as all pieces are sewn together individually, which holds the batting in place.
To begin, place the center rectangles together, right sides out, with backing in between.
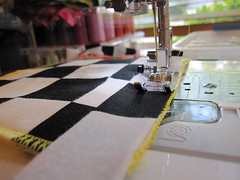
Using 4-thread overlock, serge center rectangle all the way around (or sew on machine near the edges).
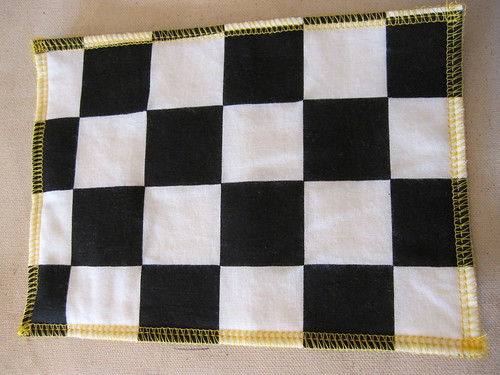
Example of finished rectangle:
Place the first two pieces (front and back) on one end of the rectangle, right sides together; add the batting to one side. Put the batting down toward the feed dogs. Create a seam by serging all together.
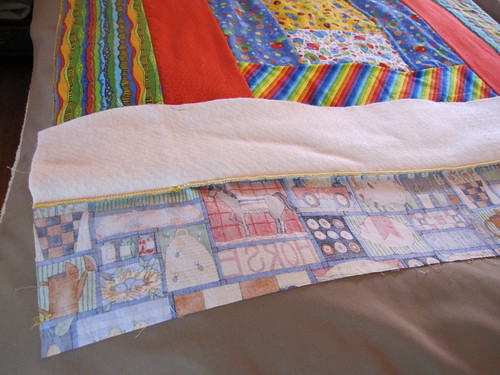
In class there wasn't time to photograph the first seam (or anything else), but this is how a finished seam will look with the under side folded out:
I used flannel for one side and cotton for the other. I found that putting the cotton side down with the batting allowed the upper side flannel to stretch under the sewing foot. I ended up having to pull out 4 sets of 6 inches of serging to correct the stretching. It did not show up until I had serged across the problematic area, causing me to remove that portion, plus the previous serging. After that, I put the batting on the flannel side and the cotton side under the foot, which worked just fine.
I also performed an additional step to avoid problems with flannel stretching--I serged each unfinished edge after seaming pieces together prior to running the next seams. I had no more problems with stretching.
Serge the next strips to the other end of the rectangle.
Serge the next strips to the sides of the rectangle.
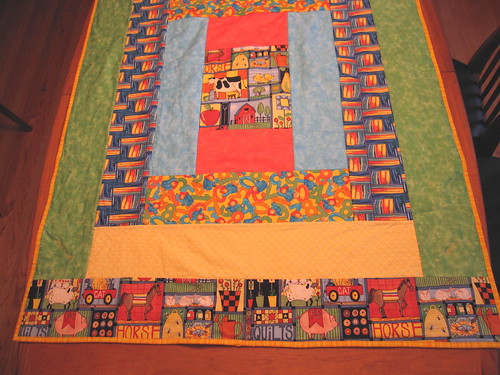
Continuing serging the remaining pieces together: across the bottom & top, down the sides, repeat until all pieces are serged together. (If you have questions as to the order to sew things together, look at the photo below .)
Next cut the binding fabric in 2-1/2-in. strips or wider if you want a wider binding. Sew them together using the standard bias-binding technique. It took 5 strips to bind the quilt.
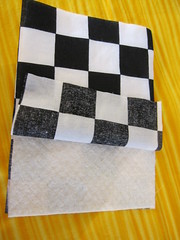
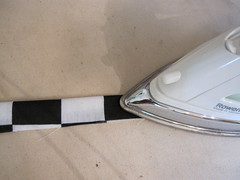
Fold and press the strips down the middle:
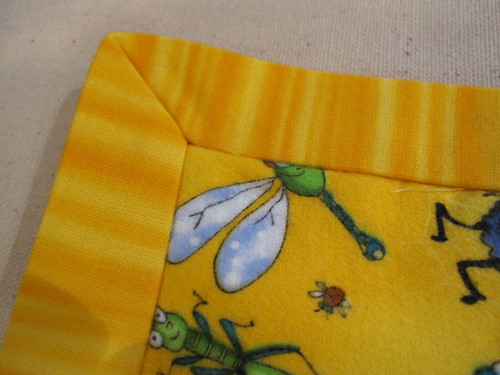
Attach the strips to the quilt back side. I will refer you to a post where the method of mitering the corners is well explained if I can find it again. The aim is to do everything in one step with no extra sewing. Always leave 3-in. "tails" unattached at the beginning and end to allow for splicing.
I really did not get a proper understanding of how our teacher said to do the mitered binding corners in order to make it really quick. Hence I spent an inordinate amount of time finagling my corners. The aim is to create a mitered corner which can then be turned with a neat miter on the front side as well.
The miter will look something like this after stiching onto the back side of the quilt, even though I did not get here using the proper (and easier) steps:
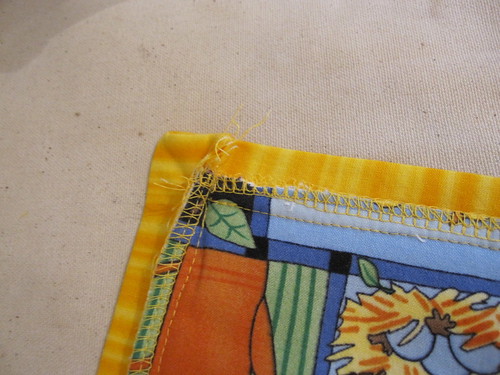
Back side of the miter (for me) -- incorrect -- do NOT do it this way; learn the proper way described in someone else's blog
I actually blind stitched the binding down by hand prior to sewing a row of stitching all the way around. I wouldn't have needed to do this had I done all the splicing and mitering correctly. However, it did make my top stitching very neat and straight--much more so than it would have been otherwise.
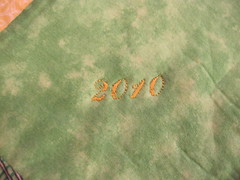
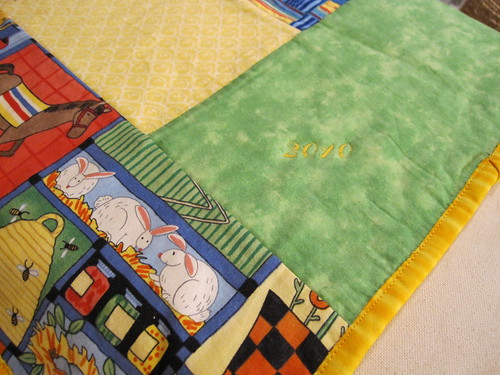
Decorative stitching on the right lower side - "date"
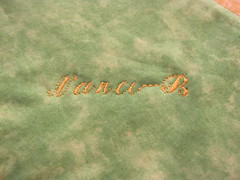
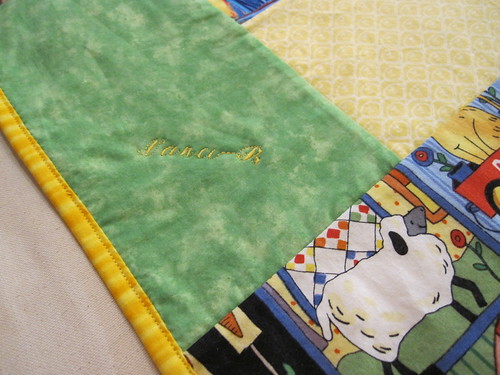
And on the left, "signature"
[My husband says the baby will need sunglasses for the flannel side!]
Close-up, cotton side (dreadful color reproduction--see the finished quilt post for better representation of color)
Close-up, flannel side
The finished quilt is 54-1/4-in. long and 40-in. wide. The width is great, but it would be nice if it were 60" long, (the center rectangle would have to be longer). It is more than adequate as is and larger than most baby quilts.
Now I just have to figure out who will be the owner of this cheerful, stimulating quilt!
===========
I am going to make this pattern in a twin-size soon. I will need to make the center rectangle longer, but I haven't done the calculation for the length as yet. When I lengthen it, I will need to run quilting stitches of some sort through it prior to stitching on the remaining pieces as I will have significantly exceeded the length of "un-quilted" batting. (For this pattern, you actually exceed it by about 4 inches, but not enough to matter.)
When I have quilted the center piece, it may be necessary to quilt some of the other pieces as well, for balance.
Our teacher says this is basically the "log cabin" style.
Despite removing serging stitches, running extra serges, and constantly having to re-thread both needles on my serger (I should have removed them and put in size 14's), I still completed the quilt except for attaching the binding in the 3-hour class, so I am sure it will go MUCH faster next time!
(Of course my renegade method of mitering the corners was VERY time consuming!)
No comments:
Post a Comment