Before I did the actual quilting stitch on my "test quilt" top (previous post - "Pink and Sweet"), I wasn't too enamored of it's appearance, so I decided to select new pieces for the little girl in Korea. I went to the store for some other stuff, and I was completely unprepared for buying what I needed. I remembered some of the numbers from the pink one, so I selected my four prints and a solid, plus fabric for the backing.
The kind lady at the store drew it out and tried to help me calculate my yardage requirements. She did really well on the prints, but my solid was over 50% short and the backing was also 50% short. The moral is: Be prepared!
I am a "spreadsheet kind of girl", so in frustration I made a spreadsheet so I would only have to make ONE more trip to the store. (Often I just say, 'oh give me xxx' and I add in a lot of extra, but I was trying to be good because this stuff is NOT cheap, so I tried to purchase just what I needed plus a little for shrinkage and straightening.)
[Caveat emptor: Should you decide to follow these numbers, there are no guarantees as to their accuracy.]
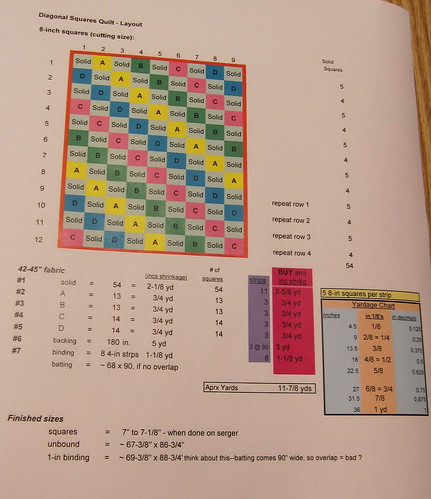
With my spreadsheet, I hope I can make fewer trips to the store.
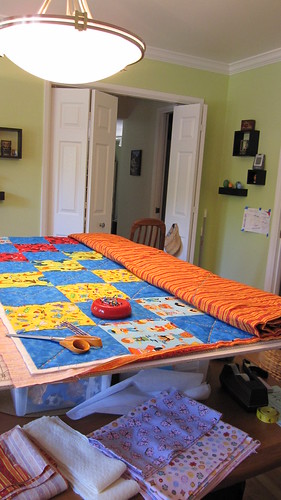
The spreadsheet is very useful in assembling the quilt top as well. I stacked my squares, Solid, then A-B-C-D in order on the table by my serger, with a Post-It note label for each stack. Then I worked my way through each row. As each row was finished, I used a Sharpie marker to put a line through that row--eliminating confusion.
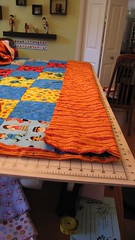
At first I hung the rows up with blue tape on my desk so I could see them, but with the spreadsheet I just laid them over the ironing board in order.
The old adage, measure twice and cut once is SO true, and in this case, check your squares AS you assemble.
Tips:
1. Count the number of squares in each row--then you won't have to pull out your stitches because you got carried away and added an extra one on the end!
2. READ the spreadsheet!
3. Don't forget to draw a line through the rows as you complete them.
The whole top was serged together. I know, I know!!! purists won't like this, but I'm really happy with it right now--especially since my serger can "take up" a little excess fabric and help me join my squares together better if a fabric is soft and stretches a little. The awkward part is that it all goes under the big serger foot and one can no longer see, nor control, what happens very well.
As I pinned the rows and seams together I ran the pin through the stitching on BOTH sides of the quilt top. I found that if I left the pin in until the last minute, then removed it, and held my left hand firmly on the seam, it worked pretty well--just DON'T run over a pin!
Once while attaching two rows I actually used a basting stitch to hold it in place, but it wasn't any better than I was doing without that step, so I didn't bother after that. I was just very careful as I approached each seam.
As I pressed my rows before stitching together I made sure each row's seams were going the opposite direction from the previous ones. Then I got the least seam effect on the top. When putting them through the serger, one must be careful to keep them going opposite directions. (Advice I have read says make them all go the SAME way.)
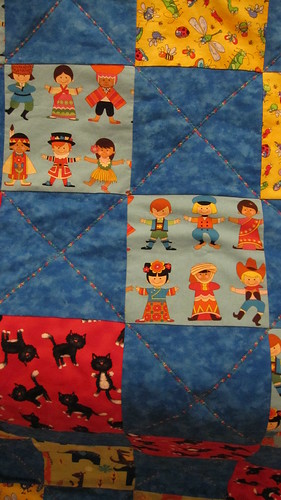
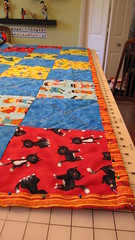
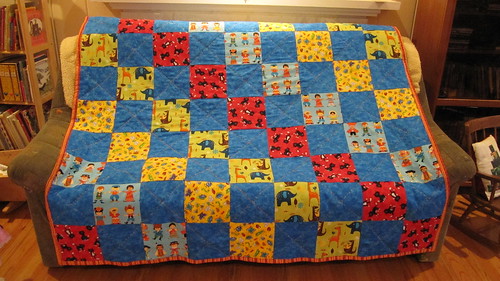
So, the top is together--nice and cheerful. more like I envisioned
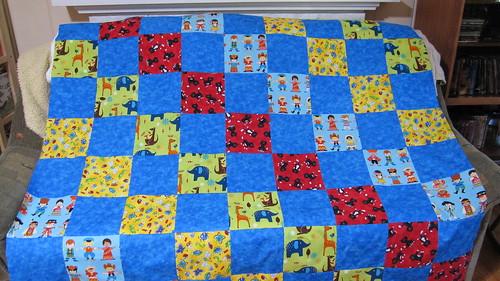
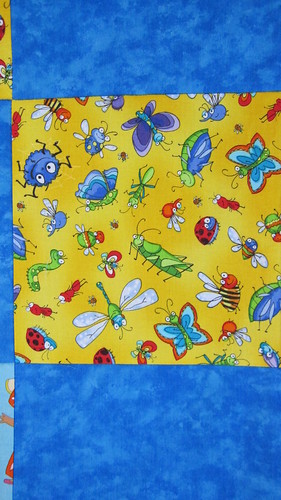
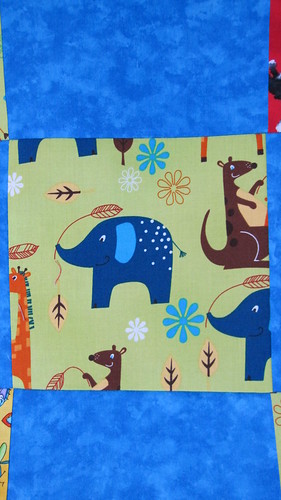
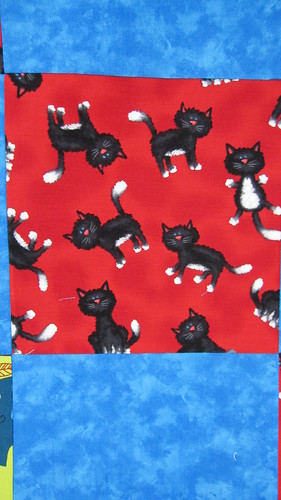
Part of the quilt top
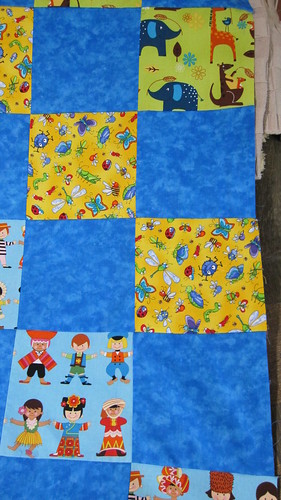
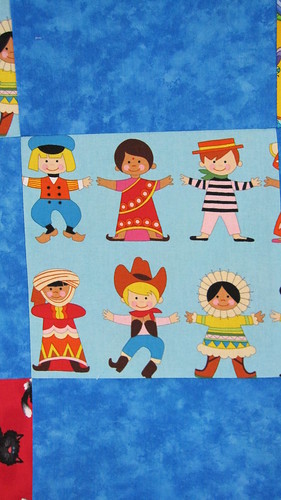
Close-ups of the pattern squares
Maybe some time I will remember to take photos of the elaborate process of placing the backing on the cleaned floor, then layering the batting--straightening it, then adding the top. Each step requires a great deal of crawling around on knees. Begin in the middle, straightening, smoothing, and flattening to the outside edges. My younger daughter helped me with those steps, which made it a great deal easier. In fact after a while she ran me OFF so she could flatten it by herself after we added each layer! (She's not bossy on anything like that  !)
!)
After it is as good as you can get it, use quilt safety pins starting in the center and pin every few squares.
When it is all layered and pinned, I placed it on my "sewing table" (which is my nice dining table, with four deepish plastic boxes to raise it and help my back, then a piece of 40 x 60 plywood, and lastly a thick plastic gridded mat--expensive, but SO worth it!). It doesn't look too swift, but it works!
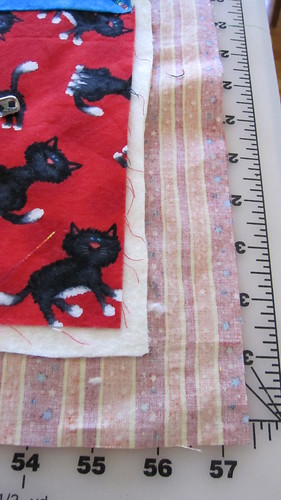
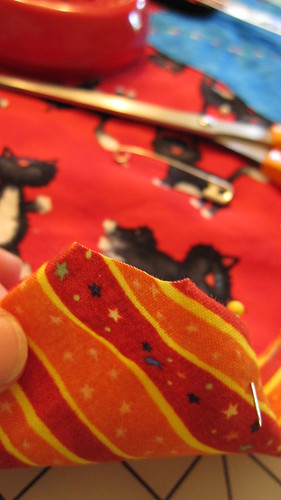
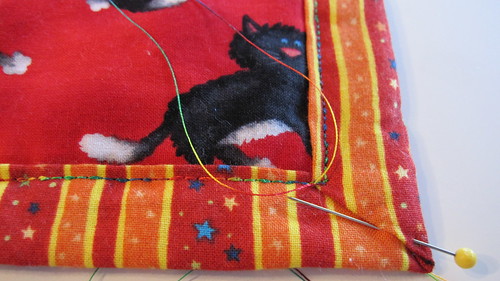
In this case I wanted to use the backing as the binding on the front, with 1/2-in. of the batting sticking out past the top so as to create an edge around the whole of the top.
Here you see the raw assemblage before cutting
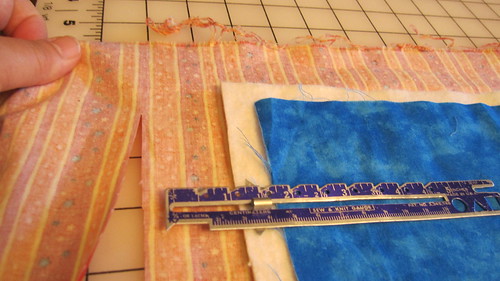
First I cut the batting to about 3/4-in. larger than the top. Then I cut the backing at least 1-1/2-in. larger than the batting, as above. The batting is a little larger than I actually want on purpose--I will trim it again after I do the quilting.
I chose a varigated thread with all of my colors in it. It is 100% polyester, which caused difficulties, but the colors are very rich.
I put diagonal lines through all the solid squares, like this

Than I ran a row across the square in the opposite direction. Close-up shows the quilting stitch I chose.

My machine said I should use foot "J" for this stitch--WRONG!!! My Warm and Natural batting is thicker and after removing TOO many stitches I called for advice. They said try the "walking foot"--problem mostly solved. (Perhaps with cotton thread "J" would have been ok; I don't know.)
My machine's thread-cutter also couldn't handle my thread--it kept getting stuck and between that and gunking up miles of loops on the underside of the quilt I was pretty frustrated. I finally started doing the "old way"--no automatic thread cutting--just lift the needle and the presser foot and drag out several inches of thread each time you stop. Cut with scissors. This eliminated the need for disassembling the entire thing every few minutes, removing threads, vacuuming, reassembling, then pulling stitches out and removing all the threads! (Gave myself a rotten headache the first night doing this for too long.)
Also, I made a bigger effort to NOT pull on the quilt from behind the presser foot as I stitched. I have a larger "table" that came with my machine--creating a much larger sewing area--it's AWESOME. I finally learned to just hold both sides of the sewing, line it up with the needle from corner to corner, and push lightly to raise it off the surface and let the walking foot do it's job. My rows were MUCH straighter than the pink quilt when I did this!
I'm pretty pleased with the straightness of the quilting stitch rows.
So all the quilting stitches are in place, and it's back on the table ready for the final trimming of the batting. I trimmed it down to 1/2" from the top.
Now it's time to fold the backing over the batting. Pin horizontally very near the edge of the batting so you can do the second fold more easily.
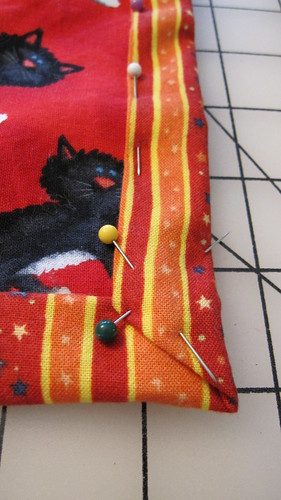
Pin the corners carefully
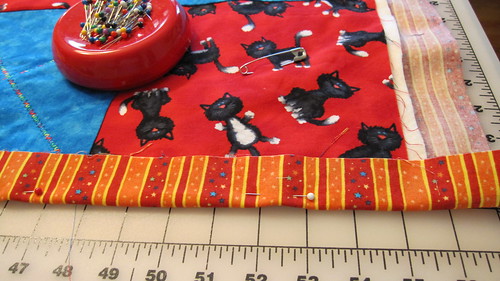
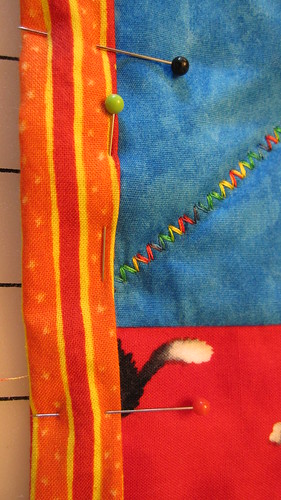
I wanted a 2-cm strip of the backing showing all around the quilt, so I folded the remainder under.

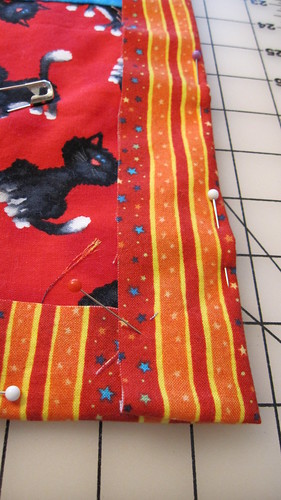
To eliminate bulk, I trimmed the corner horizontally
Then I pinned a neat corner
On the long ends and sides I first pinned it vertically
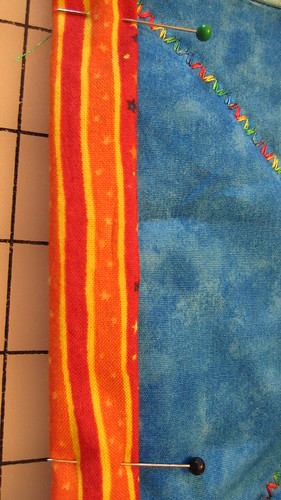
Then I pinned it horizontally and removed the vertical pins, which allows for adjusting it over the length. Make sure to pin the horizontal ones in the proper direction for removing them as you sew around the perimeter of the quilt!
After pinning across one end, about 2-feet of each side, and the corners, roll it carefully over so you can shift the quilt to do the next session.
As you go down each long side, continue to roll until you reach the other end.
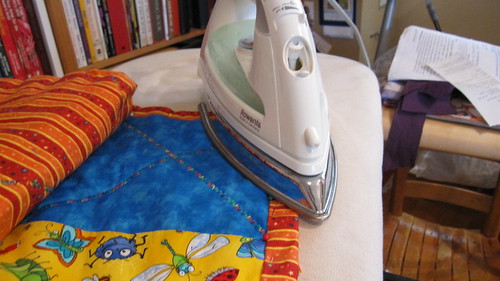
After it is completely pinned, steam all around the edges (with pins in place). It will sew more tidily if you steam it down.
Make certain your bobbin won't run out (especially if you are using polyester thread) while stitching all the way around--leaving the beginning and ending threads long enough to capture and tuck.
Then make a knot with the two threads on the front side (or pull through to back). Insert into a needle and stitch down the row an inch or sew, then hide the needle, pull out and clip.
Repeat the process for any threads hanging onthe back side.
And here it is!
It is heavy and it will be very warm on a cold Korean winter night. (And I like it!)
I did the proper test run of my "signature" for the quilt on the exact batting and fabrics and it worked perfectly. Then I did it on the quilt and it messed up so badly I had to take every tiny stitch out and start over. I did a second "test run"--perfect. Then I started it on the quilt again and AGAIN--it screwed up!
I had not used any stabilizer for the tests, nor the finals--maybe that's my problem! I'm going to take it in and get some advice (and I'm going to feel really silly if it's all about the stabilizer--but then why didn't it screw up on my test strips????).
===
Later: the guy at the store suspects I may either have been too close to the binding edge and the pressure foot was distorted by this OR it may be the weight of the whole quilt causing my problem. Like me, he ran a perfect "test strip" of my signature and it was beautiful.
I think next time I will put it into a different part of the square as I did on the pink one, which would at least get rid of a possible binding/pressure foot problem.
I will add to this post when I've tried one more time to apply my signature to this quilt!
No comments:
Post a Comment